Photography is more than reading guides or watching tutorials on the internet. The best lessons are formed when students become hands-on. Offering a photo shoot that has been specially designed to be student-oriented opens up a platform for students to learn in actual situations, apply technicalities, and learn through teamwork. This guide step by step explains planning, preparation, and conduct of a photo shoot specifically for students that becomes a great learning exercise.
Why a Student Photo Shoot is Essential in Education
Photography is art and science. Terminology like aperture, ISO, and composition are learned in the classroom, yet remain theoretical until students see them practiced. A photo shoot makes theory concrete:
- Immediate experience of camera setting use.
- Exposure to real challenges like lighting variation, weather, or cooperation of subjects.
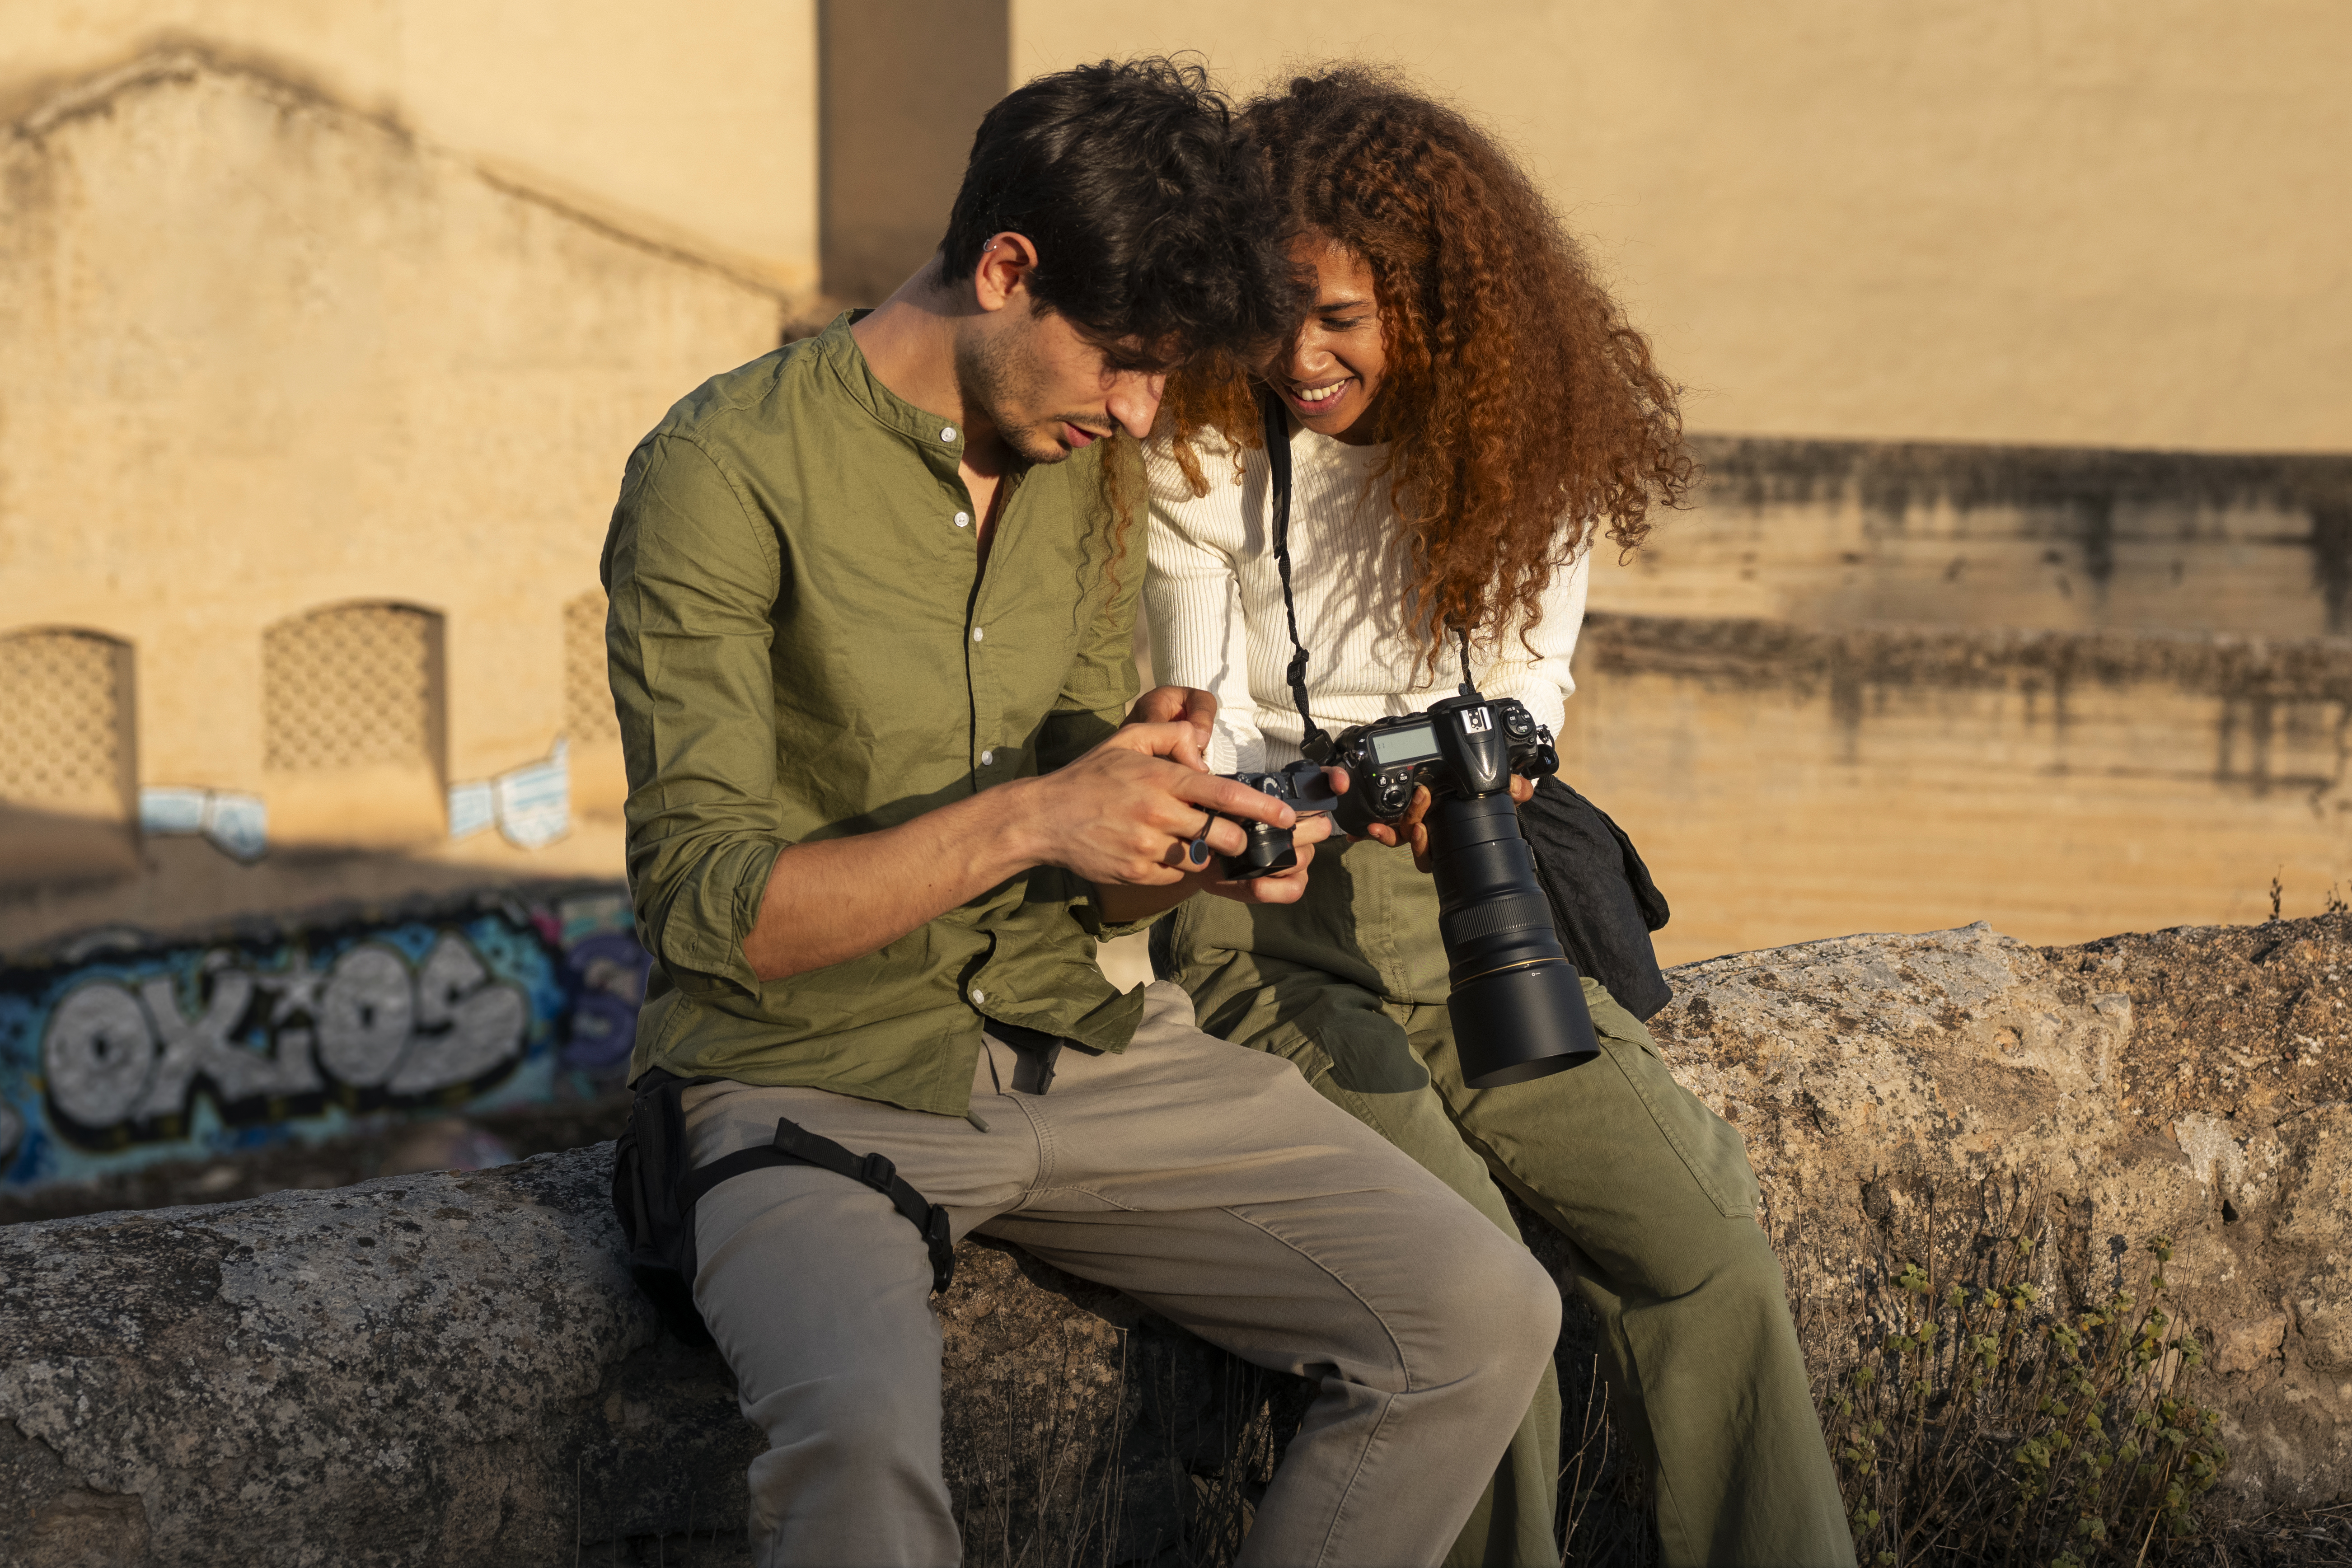
- Learning in collaboration when students work together.
- Freedom to experiment with individual style under positive criticism.
Instructors have found students who participate in directed photo shoots build confidence sooner and learn technical skills longer.
Step 1: Define the Educational Objectives
Every learning experience needs to begin with clearly defined objectives. For a student photo shoot, some objectives may be:
- Mastering manual mode and exposure control.
- Discovering natural versus artificial light use.
- Mastering composition techniques such as leading lines or symmetry.
- Developing communication skills while directing models.
Through the setting of objectives, both the teacher and students know what to focus on during the session.
Step 2: Choose the Theme
Themes provide photo shoots with an interest and channel students' creativity. Popular educational themes include:
- Portrait Study — conveying expression, emotions, and cultural heritage.
- Environmental Awareness — taking pictures of rivers, parks, or recycling plants in their vicinity.
- Campus Life — shooting day-to-day student life.
- Storytelling — creating a sequence of images to convey a story.
Step 3: Select the Location
The location identifies what the outcomes of learning will be. Teachers have to balance access with creative possibilities:
- Classroom or studio: controlled light, technique emphasis.
- Outdoor campus locations: natural light, spontaneity, and environmental photography.
- Community spaces: libraries, park spaces, or cultural centers for practice in narration.
Step 4: Plan the Equipment
Students don't need professional gear to make the most of a photo shoot. Rather, the emphasis should be on maximizing the use of available gear. Ideal gear are:
- Cameras (DSLRs, mirrorless, or even smartphone cameras).
- Tripods for stability and long exposures.
- Reflectors or improvised light sources.
- Lenses suitable to portrait, landscape, or close-up photography.
- Notebooks or tablets for taking quick notes.
Step 5: Assign Roles
- Photographer — experimenting with camera settings.
- Lighting assistant — positioning reflectors or lamps.
- Model/subject — posing or performing.
- Director — coordinating group dynamics and keeping time.
- Reviewer — noting what is going well and what can be improved.
Step 6: Teach Pre-Shoot Preparation
- Research: checking references, looking at professional shoots.
- Sketching ideas: roughing out compositions or lists of shots.
- Checking equipment: batteries charged, memory cards erased.
- Permits: confirming access to locations or inviting individuals to participate.
Step 7: Take the Photo Shoot
During the shoot, practice takes precedence over perfection. Teachers can encourage:
- Experimenting with different positions.
- Using automatic and manual modes to compare results.
- Trying different light configurations.
- Taking notes of issues encountered.
Step 8: Post-Shoot Review and Reflection
- Image choice: students choose their best images and explain why.
- Peer review: friends offer constructive feedback.
- Technical analysis: metadata inspection (shutter speed, aperture, ISO).
- Reflection journals: documenting lessons learned and plans for next time.
Linking the Photo Shoot to Broader Learning
A student photo shoot can be tied to other school subjects:
- History: recreating historical scenes or portraits.
- Science: taking pictures of experiments or nature observations.
- Art: trying out composition, color, and symbolism.
- Language Arts: connecting essays or poems with photographs.
Challenges and Solutions
- Limited gear → Use smartphones and focus on composition techniques.
- Time limitations → Break the shoot into mini-sessions with focused goals.
- Shy students → Switch roles so everyone can find their comfort zone.
- Weather issues → Have a backup indoor location or plan a hybrid shoot.
Educational Outcomes
- Greater technical ability with cameras.
- Increased creativity and storytelling with images.
- Working in teams and communication skills.
- Practical challenges of photography awareness.
- A body of photographs for applications or exhibitions.
Conclusion
Assembling a photo shoot for students is more than a school diversion — it is a multidisciplinary teaching aid. Using good planning, clearly articulated goals, and thoughtful reflection, a student photo shoot is an engaged laboratory in which art and science and storytelling intersect.